There are multiple options. You can see the full line here Base and Bling on Nikki's website
I've done a short tutorial to make a keychain with a family picture
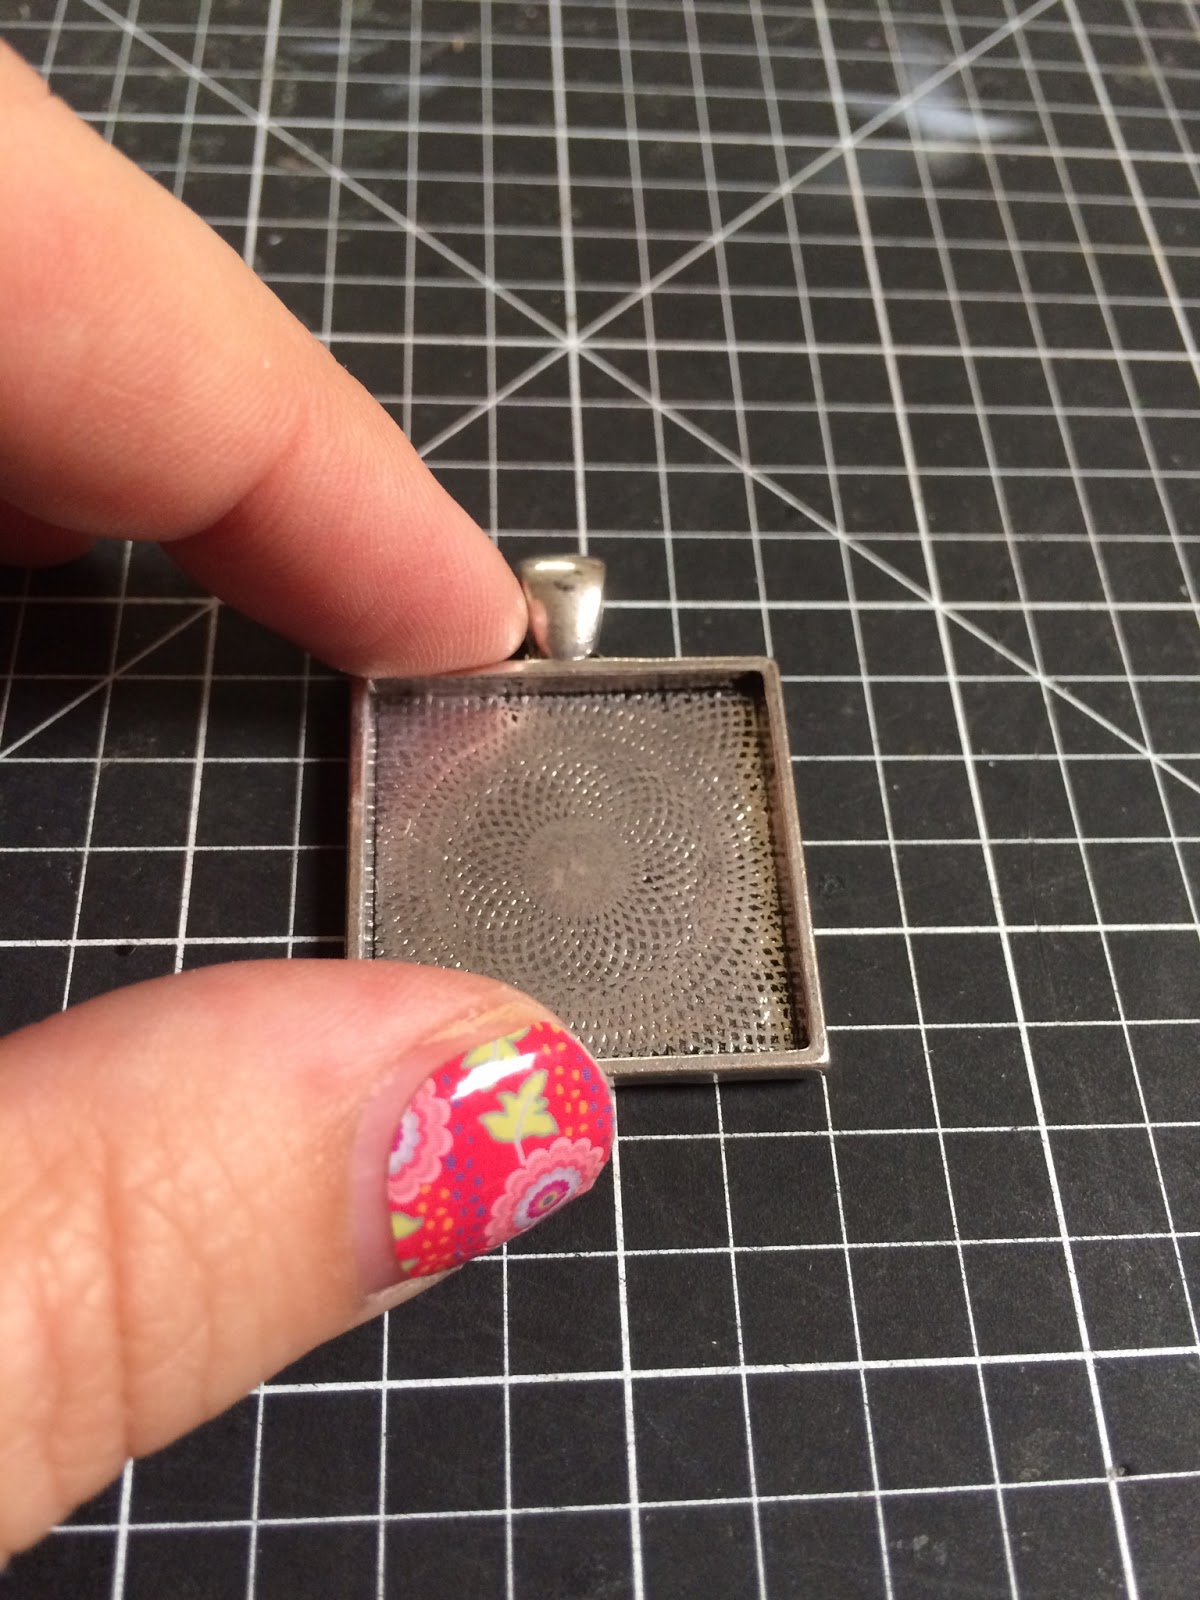
First, I chose to start with the square pendent. There are squares, rectangles, ovals and circles. I am starting with the pendant as well as the square class cover and one charm from one of the assortments.
The supplies I used for this project are:
Base and Bling Square Pendant
Base and Bling Square Square Glass Cover
Base and Bling Dreamer Charms Assortment
Red double sided tape
Liquid Glass
Keychain ring and hook
1X1 picture printed from Studio J


 For adhesive for the picture, you can either use the base and bling adhesive, or you can use the red double sided strong tape you can get at a craft store. For this project, I chose to use the red tape as the circles I had on hand were a little too large. You can make the base and bling with purchasing one of the sets of stickers sold from Close to My Heart. Many have beautiful pictures or motivational sayings, depending on the type of kit you get. (example of a sticker sheet is on the right in the below picture). I choose to make a 1X1 picture of my family in Studio J. I used the No Limits layout and printed off lots of pictures of different sizes. I printed off about 6 pictures, as I made these for xmas gifts for my family. (1X1 picture on the right) Tip: I've tried this after printing off pictures on my home printer and the ink ran. I recommend getting the pictures printed from a processing place to keep the ink from running.


Here is the bottom with the picture taped inside.
I then put a drop of liquid glass in the middle of the picture. Some people have asked if you can use modge podge-I have never used that so I can't comment-but if you do make sure to try it with the clear ones.

 I
I
Here is is completed. It may look a little cloudy at first, but the liquid glass dries clear. I wanted to make mine into a key chain (we do sell chains if you want to make it as a necklace) so picked up a keychain hook at Michaels. I attached the charm and the picture to the key chain, and all done! It took me all of 5 minutes to do. :) These are also easy enough for kids to make, depending on their age they may need help.


No comments:
Post a Comment